Miniature painting is an intricate art form that requires precision, patience, and a keen eye for detail. Whether you’re a seasoned hobbyist or just starting, mastering airbrushing techniques can elevate your miniature painting to new heights. In this guide, we’ll delve into the world of airbrushing and explore the techniques that will help you achieve professional-level results.
Introduction to Miniature Painting
Miniature painting involves painting small-scale models, often used in tabletop games, dioramas, or model-making. These miniatures come in various shapes and sizes, from fantasy characters to historical figures, each requiring careful attention to detail.
Understanding Airbrushing Techniques
Types of Airbrushes
Airbrushes come in three main types: single-action, dual-action, and gravity-feed. Single-action airbrushes have a preset spray pattern and are suitable for beginners. Dual-action airbrushes offer more control, allowing for adjustments in both airflow and paint volume. Gravity-feed airbrushes are ideal for fine detail work, as they use gravity to feed paint into the airbrush.
Essential Equipment
In addition to an airbrush, you’ll need a compressor to provide airflow, paints specifically formulated for airbrushing, and a cleaning kit to maintain your equipment.
Preparation Before Airbrushing
Workspace Setup
Choose a well-ventilated area with ample space to work comfortably. Cover your workspace with newspaper or a drop cloth to protect surfaces from overspray.
Priming Miniatures
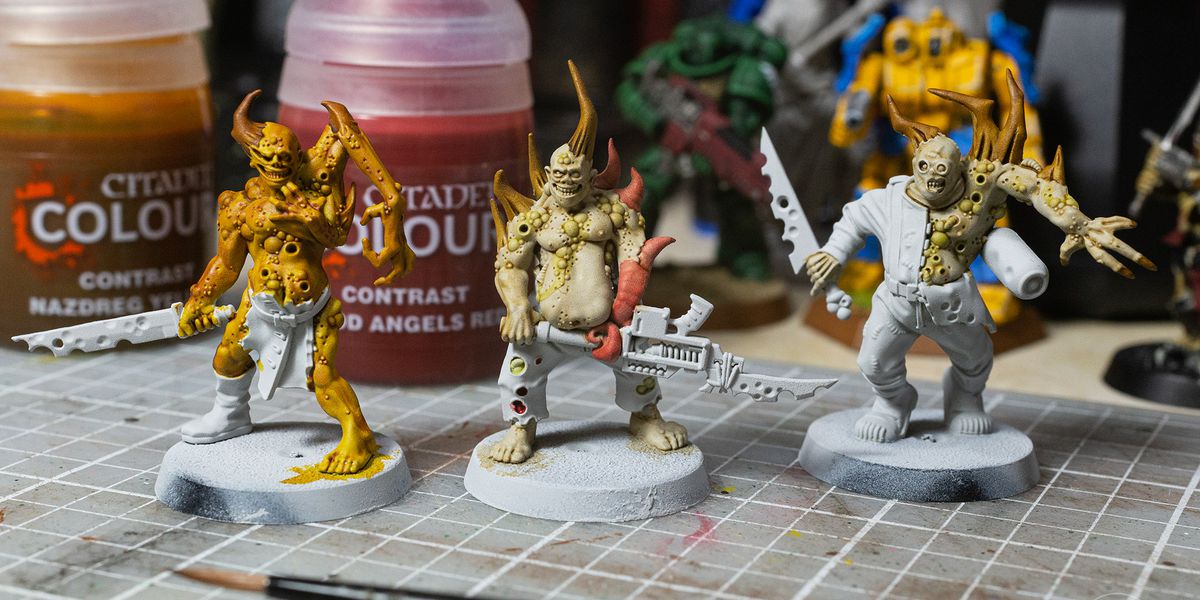
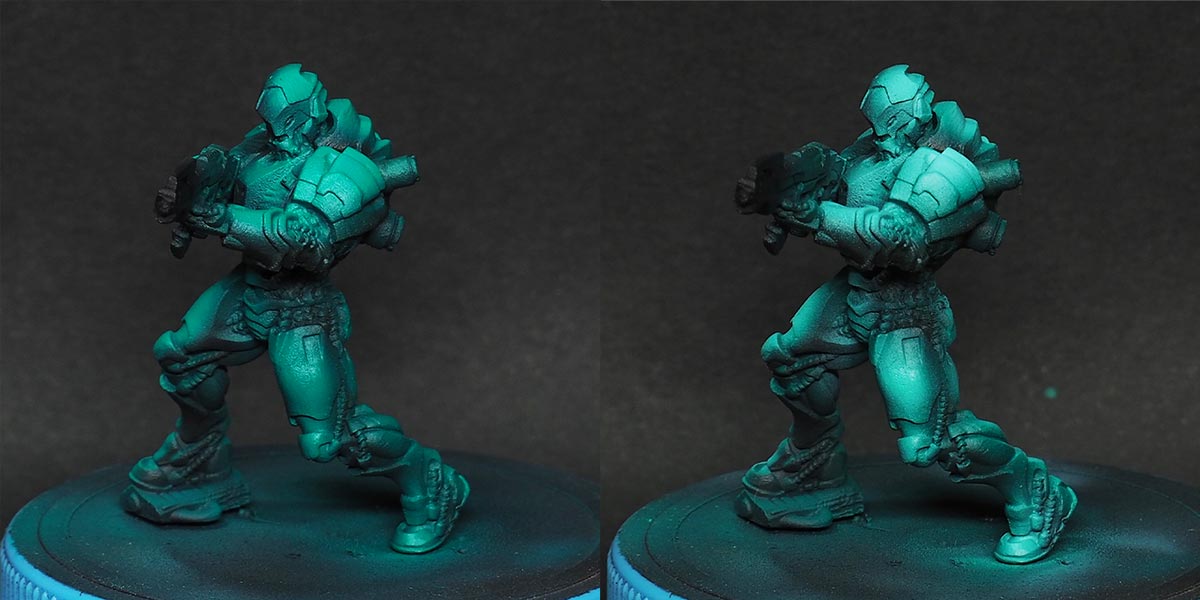
Before airbrushing, it’s essential to prime your miniatures to create a smooth surface for paint adhesion. Use a primer designed for miniatures and apply it evenly using an airbrush or spray can.
Basic Airbrushing Techniques
Thin Your Paints
Thin your paints to achieve smooth, even coverage. Aim for a consistency similar to skim milk, as thick paint can clog your airbrush.
Practice Pressure Control
Mastering pressure control is crucial for achieving different effects. Experiment with low and high pressures to see how they affect paint application.
Mastering Distance and Angles
The distance and angle at which you hold your airbrush can significantly impact your results. Practice varying these factors to achieve different effects, from broad blends to precise details.
Advanced Airbrushing Techniques
Layering and Blending Colors
Layering and blending colors can add depth and dimension to your miniatures. Start with lighter colors as a base and gradually build up layers, blending them seamlessly for a smooth transition.
Creating Textures
Experiment with different Airbrushing Techniques, such as stippling or masking, to create textures like leather, metal, or fabric.
Highlights and Shadows
Adding highlights and shadows can bring your miniatures to life. Use a lighter color to highlight raised areas and a darker shade to create shadows, enhancing the overall realism of your paint job.
Troubleshooting Common Issues
Clogging
If your airbrush becomes clogged, try cleaning the nozzle with a cleaning brush and flushing the airbrush with thinner.
Splattering
Splattering can occur if your paint is too thick or if there’s a buildup of paint on the needle. Thin your paint and regularly clean your airbrush to prevent splattering.
Uneven Coating
Uneven coating may result from inconsistent pressure or improper thinning of paint. Practice maintaining steady pressure and adjust the paint consistency as needed for smooth, even coverage.
Cleaning and Maintenance of Airbrushes
Disassembly and Cleaning
Regular Maintenance Routine: Develop a routine for cleaning your airbrush after each use. Disassemble the airbrush carefully, following the manufacturer’s instructions.
Cleaning Solution:
Use an appropriate cleaning solution recommended for airbrushes. Avoid using harsh chemicals that could damage delicate components.
Cleaning Brushes:
Invest in a set of cleaning brushes designed specifically for airbrushes. These brushes come in various sizes and shapes to reach tight spaces and remove stubborn paint residue.
Thorough Cleaning:
Pay special attention to the nozzle, needle, and air cap, as these parts are prone to buildup. Use the cleaning brushes and solution to remove any paint or debris thoroughly.
Maintenance Tips
Inspect Regularly:
Take the time to inspect your airbrush regularly for any signs of wear or damage. Check for bent needles, worn seals, or loose fittings, and address any issues promptly.
O-Ring Replacement:
O-rings are crucial for maintaining a tight seal and preventing air leaks. Replace worn or damaged O-rings as needed to ensure optimal performance.
Lubrication:
Apply a small amount of airbrush lubricant to moving parts, such as the trigger and needle, to keep them operating smoothly. Avoid over-lubricating, as excess oil can attract dirt and debris.
Troubleshooting
Clogged Nozzle:
If paint buildup causes the nozzle to clog, soak it in cleaning solution or use a nozzle cleaning tool to remove any obstructions.
Sticky Trigger:
A sticky trigger may indicate a lack of lubrication or debris caught in the mechanism. Clean and lubricate the trigger assembly to restore smooth operation.
Airflow Issues:
If you notice a decrease in airflow, check for obstructions in the airbrush or compressor hose. Clear any blockages and ensure proper airflow for consistent performance.
Preventive Measures
Flush Between Colors:
To avoid cross-contamination and ensure color accuracy, flush the airbrush with clean water or solvent between color changes.
Avoid Harsh Cleaners:
While thorough cleaning is essential, avoid using harsh solvents or cleaners that could damage delicate components. Stick to recommended cleaning solutions and Airbrushing Techniques.
Protective Storage:
When not in use, store your airbrush in a protective case or container to shield it from dust, moisture, and accidental damage.
Safety Measures While Airbrushing
Ventilation
Ensure adequate ventilation in your workspace to dissipate fumes and overspray. Consider using a respirator mask for additional protection, especially when working with solvent-based paints.
Protective Gear
Wear gloves and eye protection to shield yourself from potential hazards, such as paint fumes or accidental splatters.
Experimentation and Practice
The key to mastering airbrushing techniques is practice. Experiment with different paints, surfaces, and Airbrushing Techniquesto discover what works best for you.
Showcasing Your Masterpieces
Once you’ve honed your skills, proudly display your miniature masterpieces for all to admire. Whether on a gaming table or in a glass display case, your finely painted miniatures are sure to turn heads.
Conclusion
Mastering airbrushing techniques is a journey that requires dedication, patience, and a willingness to learn. With practice and perseverance, you can transform ordinary miniatures into stunning works of art that capture the imagination.